Home-brewing isn't just about beer anymore. More and more people are discovering just how much fun it is to make your own cider, experimenting with flavors, adjusting sweetness levels to taste and basically enjoying a drink that is just yours. As hobbies go, cider making is a pretty reasonable investment to make - not too expensive, loads of room for creativity and the basics are actually pretty easy to get your head around.
With a cider-making starter kit, the process gets even easier. Designed to take away the mystery of it all, these kits include all the essential tools, ingredients and step-by-step instructions you'll need to start brewing your very first batch with confidence.
But what actually comes in one of these starter kits? What other extras might you need to get going? And what can you actually expect from your first brew? Let's take a closer look and see what makes one tick.
What's Included in a Cider Starter Kit?
You can find home brewing cider starter kits in all sorts of shapes and sizes - some bundles are absolute beginner's guides, with everything you need in one box, while others are more geared towards experienced hobbyists who want to tinker and customize their brews. However, the majority of cider making starter kit options include a core set of essentials that give you everything you need to brew and bottle your first batch - and do a pretty good job of it, too.
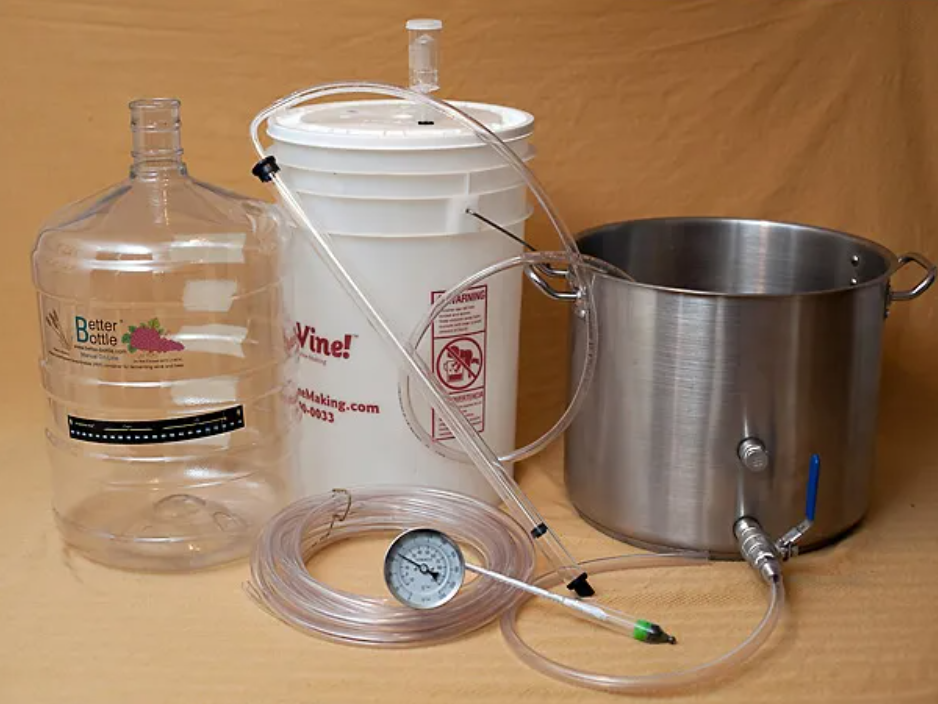
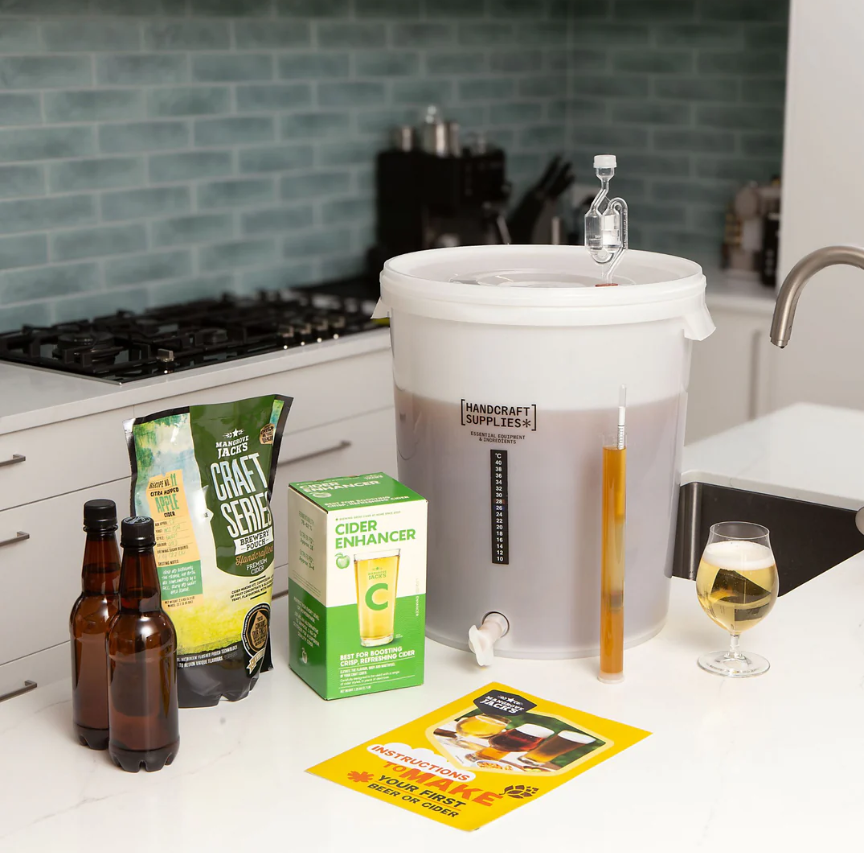
Here's what you can expect to find inside most starter kits:
Fermenter Bucket and Lid & Airlock
The fermenter bucket is where the magic happens - it's where your cider mixture gets to chill out for a while while the yeast gets to work converting sugars into a nice glass of cider. The lid keeps everything sealed, and the airlock lets any spare carbon dioxide out during fermentation without letting any nasties in. This setup creates ideal conditions for a good brew.
Hydrometer
A hydrometer is one of those gadgets that measures the specific gravity of your cider before and after fermentation - aka the amount of sugar and the amount of booze in your brew. Not rocket science, but basically helps you check the progress and make sure it's all coming together as it should.
Thermometer
You'll also find a thermometer in most starter kits - this is the bit that lets you keep an eye on the temperature and ensure the yeast isn't getting too stressed, which can affect the flavor.
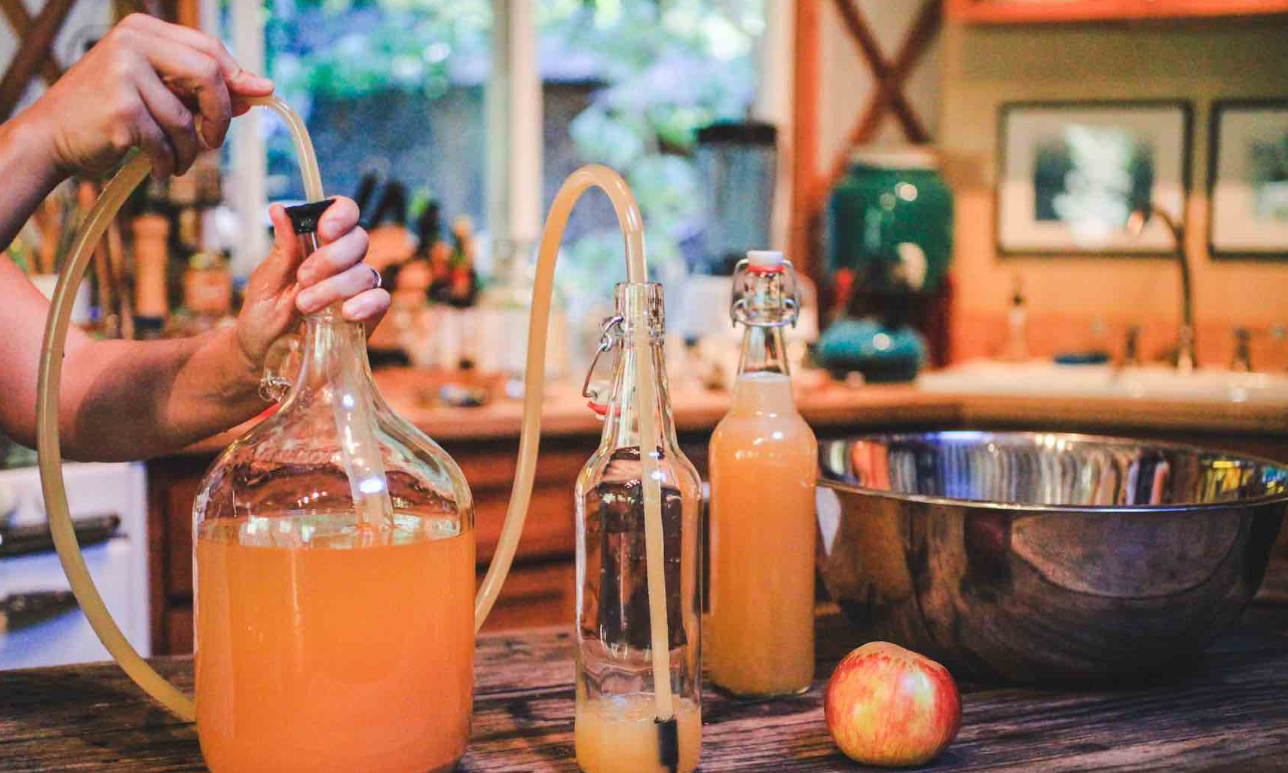
Siphon
Once fermentation is complete, you'll want to move your cider to a bottle (or a secondary vessel) without disturbing the sediment at the bottom - and that's where a siphon comes in. Saves on a load of wasted cider and gives you a clearer final product.
Paddle (or Stirring Spoon)
The paddle is a tool that you use to mix everything together at the start of the process. Get the sugars and yeast evenly distributed, and you're off to a good start.
Instruction Guide or Recipe Sheet
The Instruction Guide is really the heart and soul of a cider starter kit - one that you'll put to use more often than you think. It's a step-by-step guide that breaks down each stage of the process, from getting your equipment ready and mixing your ingredients right through to fermentation and bottling. This straightforward approach makes it an ideal beginner's resource.
Beyond the must-haves, some kits come with additional goodies to make the process smoother still. These can include a sanitizing solution, bottles, caps, a bottle capper, even a secondary fermentation vessel—though some of this extra gear may only be found in the more advanced kits. What extras you get will, of course, depend on what sort of kit you're after: a basic beginner's kit or something more geared to the hobbyist looking to upgrade, or maybe people who want to make bigger batches.
Optional Extras That Can Help Get Your Best Cider
While the core equipment you need to get started is usually included with your cider starter kit, there are a few nice-to-haves that can really make a difference in your results, add some interesting flavor combos to play with, and make all of it a whole lot easier to manage.
Keeping it Clean With Sanitizer/Sterilizer
Cleanliness is just about the most important thing when it comes to cider making. Even the smallest specks of bacteria can ruin the drink, leaving it tasting nasty or ruining a whole batch. To combat this, you can use a no-rinse sanitizer or sterilizing solution to make sure all your gear is properly clean before use. It's a bit of peace of mind that's pretty priceless.
Extracting Your Own Juice With Fruit Presses or Using Fruit Juice Concentrate
If you're using fresh apples, having a good fruit press lets you get your hands dirty and extract the juice yourself, which can be a real plus in terms of control over the final flavor of your cider. Alternatively, if you're after a quicker option, fruit juice concentrate is a great choice for beginners. It delivers consistent results and saves a heap of time—and even lets you experiment with different apple varieties and flavor profiles.
Cider Yeast: Choosing The Right One
The yeast you choose really makes all the difference in the final taste and character of your cider. Some types produce a nice dry finish, while others really bring out the fruity flavors—or give you a nice bit of sweetness. If you can invest in a good cider-specific yeast, you can really add some depth to your cider.
Other Additions to Help Take Your Cider to The Next Level
There are a few other ingredients you can add to your cider to give it a bit of a tweak. You can use cider enhancer blends to adjust the sweetness and body of your cider, or add some extra nutrients to help the fermentation process along. For the average beginner, these might not be essentials, but they do give you that bit of extra control as you get more comfortable with the process.
Cider Making Mistakes to Avoid: Tips For Beginners
Starting to make your first batch of cider can be a thrilling experience, but if you're not careful, there are a number of things that can go wrong. Knowing what to look out for can save you from a lot of frustration, a bunch of wasted ingredients and a whole lot of disappointment.
One of the most common mistakes new cider makers make is not taking proper sanitization seriously enough. The thing is, all the equipment that comes into contact with your cider needs to be spotlessly clean and sanitised—even if it seems clean enough to the naked eye. Bacteria can sneak in and spoil the whole batch, producing all sorts of nasty off-flavors. Don't even think about skipping this step - it's crucial.
Another issue that gets a lot of beginners is getting the temperature of their fermenter wrong. Yeast likes to work at a very specific temperature, and if it gets too cold, fermentation will stall. On the other hand, if it's too warm, you risk ending up with some unpleasant flavors and stressed yeast. Keep a close eye on that temperature throughout the whole process.
Speaking of bottling, don't be tempted to bottle too early. It's natural to want to get your cider into bottles as quickly as possible, but if the fermentation isn't complete yet, you risk bottles building up too much pressure—which can lead to all sorts of problems, including explosions. A simple way to check is to use a hydrometer - it'll tell you when fermentation is done, and it's safe to bottle.
Adding too much extra sugar to try to boost the alcohol content is another common mistake. Sounds like a good idea, but if you overdo it, your cider will end up out of balance and tasting harsh and dry.
Finally, avoid opening your fermenter all the time to "check" on your cider. Every time you let oxygen in, you raise the risk of contamination—and that can have a knock-on effect on the flavor. Just be patient and let the process run its course. Cider making is all about letting things happen at their own pace.